
first project of 2012! i got this great idea from pinterest...of course! who isn't getting great ideas from pinterest these days?? it was to refurbish an old crappy coffee table into a sweet tufted ottoman, i think it took me one day to find the idea and then go out looking for a table. the general idea for tufting is you have buttons that are pulled to the back of the piece and they create that soft & fancy look. i've been wanting to venture into upholstery for awhile now and i'm really glad i found this simple project to get my feet wet with. this tutorial is definitely wordy- but don't be intimidated by it, i'm going to include everything i did and thought of throughout so it's very thorough! here's how i did it:  | |
| supplies: foam (roll in the back from michaels, i used 1" thick and stacked it to 2"), hi-loft quilt batting (just enough for one layer over the foam), drill, scissors, buttons and fabric (you can always use regular buttons too), tape measure, long upholstery needle, cotton string (or similar), staple gun & staples **NOT SHOWN** fabric: you can use a lot of different fabrics for upholstery, it doesn't have to be "upholstery fabric." i really had my heart set on some yellow velvet, but you can't clean that stuff, and we have a dog and i didn't want to have to re-upholster if a drink gets spilled on it!! i settled on some cotton duck canvas, very durable, i can spot clean (plus i scotch-guarded the crap out of it!) the yellow color goes with my pillows and the yellow-gold quilt i have draped across the couch. |
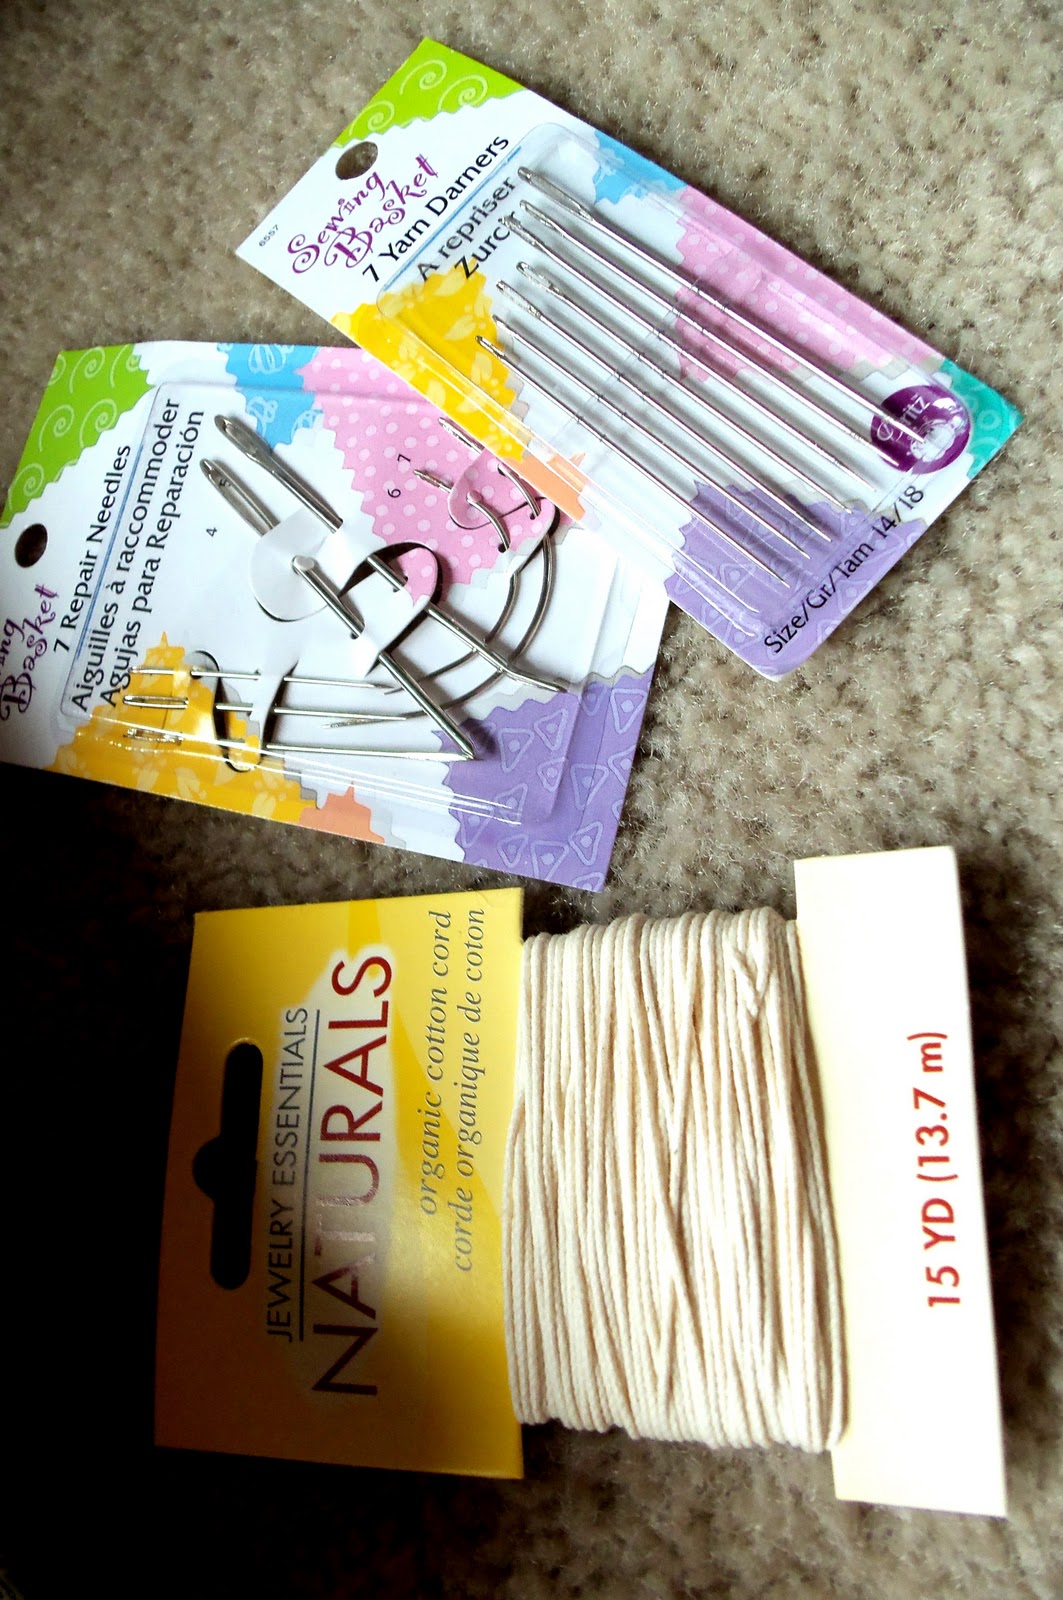 |
| here's the string and needle i used, these aren't upholstery needles, the longest one was *just* long enough for me to use, if you are upholstering thicker than 2" height i would look for a real upholstery one. you can use whatever string you want as long as it fits through the drilled holes and your buttons, and it's not elastic |


 |
| here's my sweet coffee table! thrifted it for $12! it's 3'x3' which is perfect for my space, and it's...wait for it...REAL WOOD. i'm a spoiled woodworker's daughter and i can't stand that fake crap you find in stores nowadays. that's a big reason i make so much of the stuff i have here, i don't wanna pay double what i think it's worth for quality. |
 |
| here's where we begin. i decided on a 12-button diamond tuft pattern, and since i've never done this before, i thought these measurements would be correct. sorry it looks confusing, but basically i was dividing the 36" into 3 or 4 sections depending on how many buttons were going in that row. INCORRECT! that put all the buttons too far into the middle and they were not evenly spaced. |
 |
| this is what i eventually came up with, and this spaced the buttons evenly throughout. what i did was make it so there was the same space between the buttons instead of dividing the space into sections. if this is confusing, you can see that the first row of 3 at the top is spaced 6", 18", and 30"....in my first design they were at 9", 18", and 27". |
 |
| my sharpie wasn't working too well on the surface, so i put tape where my mark was gonna be and measured where the button hole would go. |
 |
| here's my final design for the tuft pattern |
 |
| make sure your drill bit is big enough for your needle to fit through |
 |
| here's a shot of my foam on the table before i measure and cut |
 |
| here's the foam cut and stacked |
 |
| i used masking tape to keep the pieces from rearranging themselves, and found my drilled holes and marked them |
 |
| then i laid the quilt batting on top, and marked the holes again. i found out later it WASN'T really necessary to mark them, but i didn't know that, soooo......... |
 |
| then i made buttons to use, these match the pillows i have on my couch! i'm in love with this fabric and i had just enough left to make these. |
 |
| i draped the fabric over the table and measured and cut the amount i needed. i left about 8" extra on each side just in case, and i was very glad i did later, we'll get to that. |
 |
| i placed my buttons on top so i could make sure i liked the arrangement, this would only be necessary if your buttons are different from each other |
 |
| i threaded about 10"-12" of string through each button, you'll need the length to pull it down later |
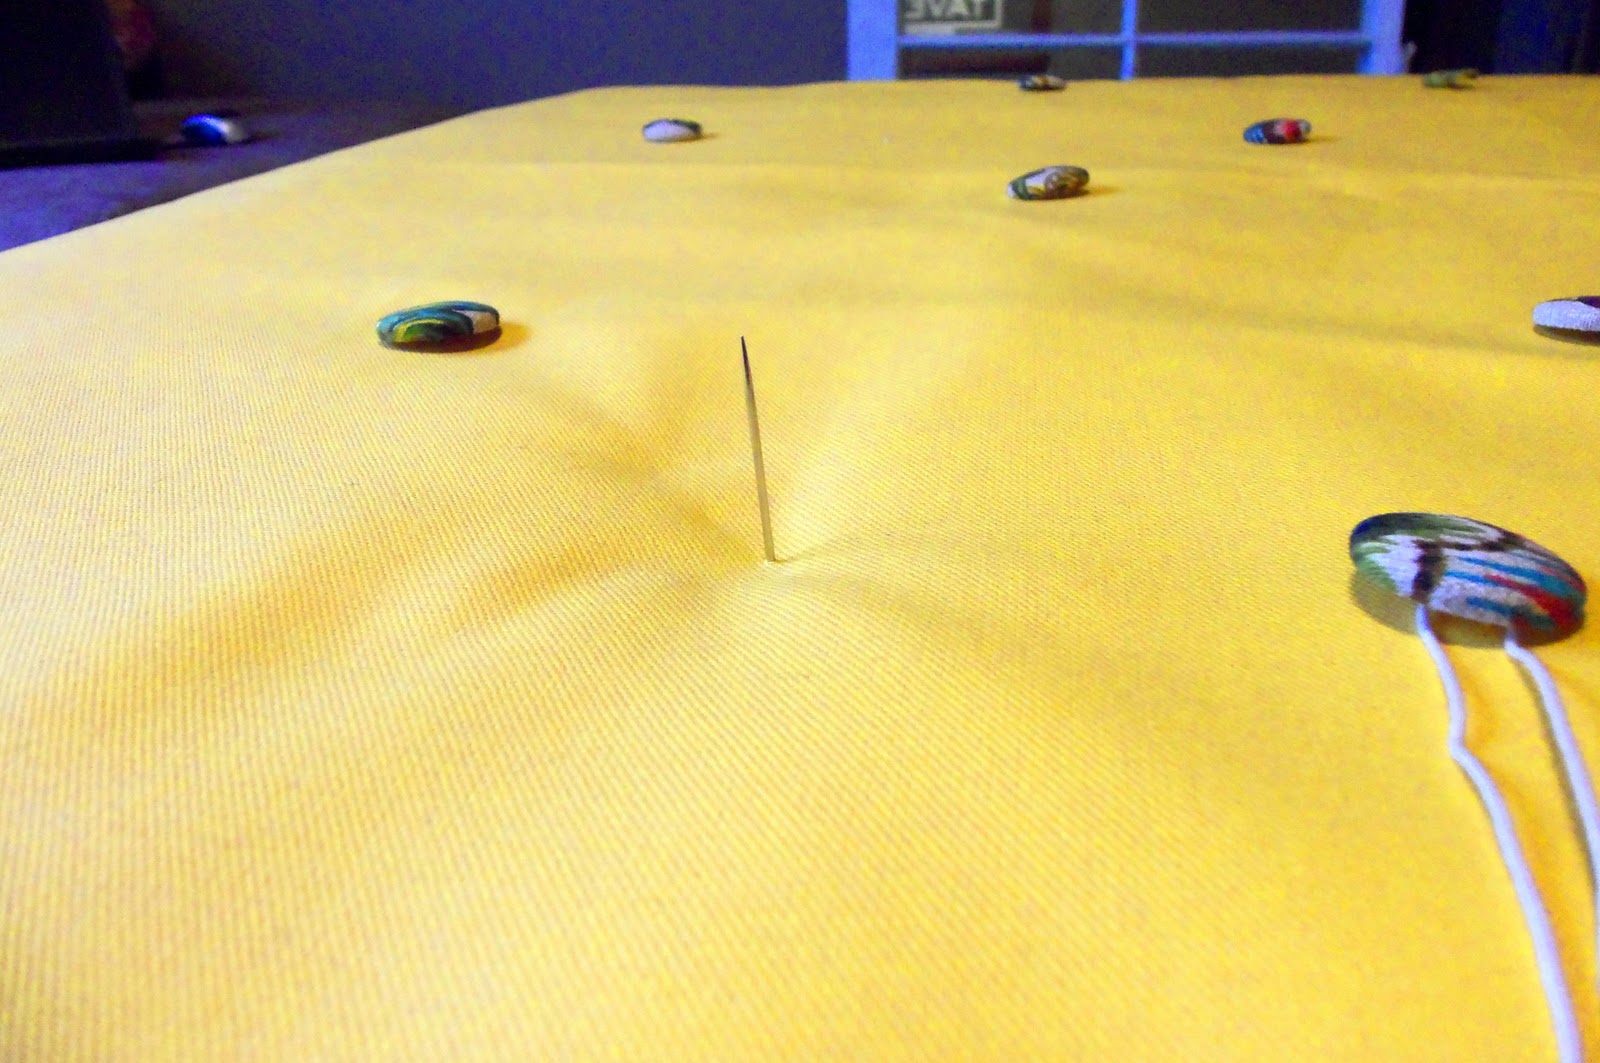 |
| i found the button holes through the bottom and worked the needle up through the top to figure out where the buttons went |
 |
| it took awhile, but i got them all through |
 |
| here's a view from the bottom of the table |
 |
| i started pulling the buttons down in the center of the table, working my way out |
 |
| you can't see it very well in the first picture, but i had originally bought a "heavy duty" staple gun from michael's because i lost the original one we had (how do you lose a staple gun, right??) BIG MISTAKE. worst staple gun ever. not heavy duty at all. i switched to a good one, i recommend you use a good one!! |
 |
| i pulled all the buttons through with all my might and stapled the string to the wood. each string has about 5 staples on it. |
 |
| this is the point where i realized i wanted padding on the edges of the table too. if i did this again, i would definitely try to wrap the original piece of foam around the table instead of adding it later. this is also where i was super excited that i had left 8" of fabric on each side! |
 |
| how professional does that look?! |
 |
| i turned everything upside down to begin stretching the fabric and doing the actual upholstery part. |
 |
| if you've ever stretched a canvas for a painting, this is exactly like it. start in the middle of each side, stapling the fabric as you stretch it. |
 |
| here's a shot after i had all the middles stretched and stapled. since i'm stapling on the bottom, i won't need to cover the staples with furniture tacks or trim. |
 |
| view from the side, not perfect yet, but you work the fabric around as you go. |
 | ||
have to figure out how i want to fold the corners.
|

 |
| flipped it back over, folded, stapled. also for corners, you'll probably have enough fabric there to cut a few inches off the top of the corner. otherwise it's just too much fabric to staple down nicely. |
 |
| i stapled the middle first, the sides are easier to control that way. |
 |
| close-up of corner stapling |
 |
| here's what the finished corner looks like on the outside. love it! |
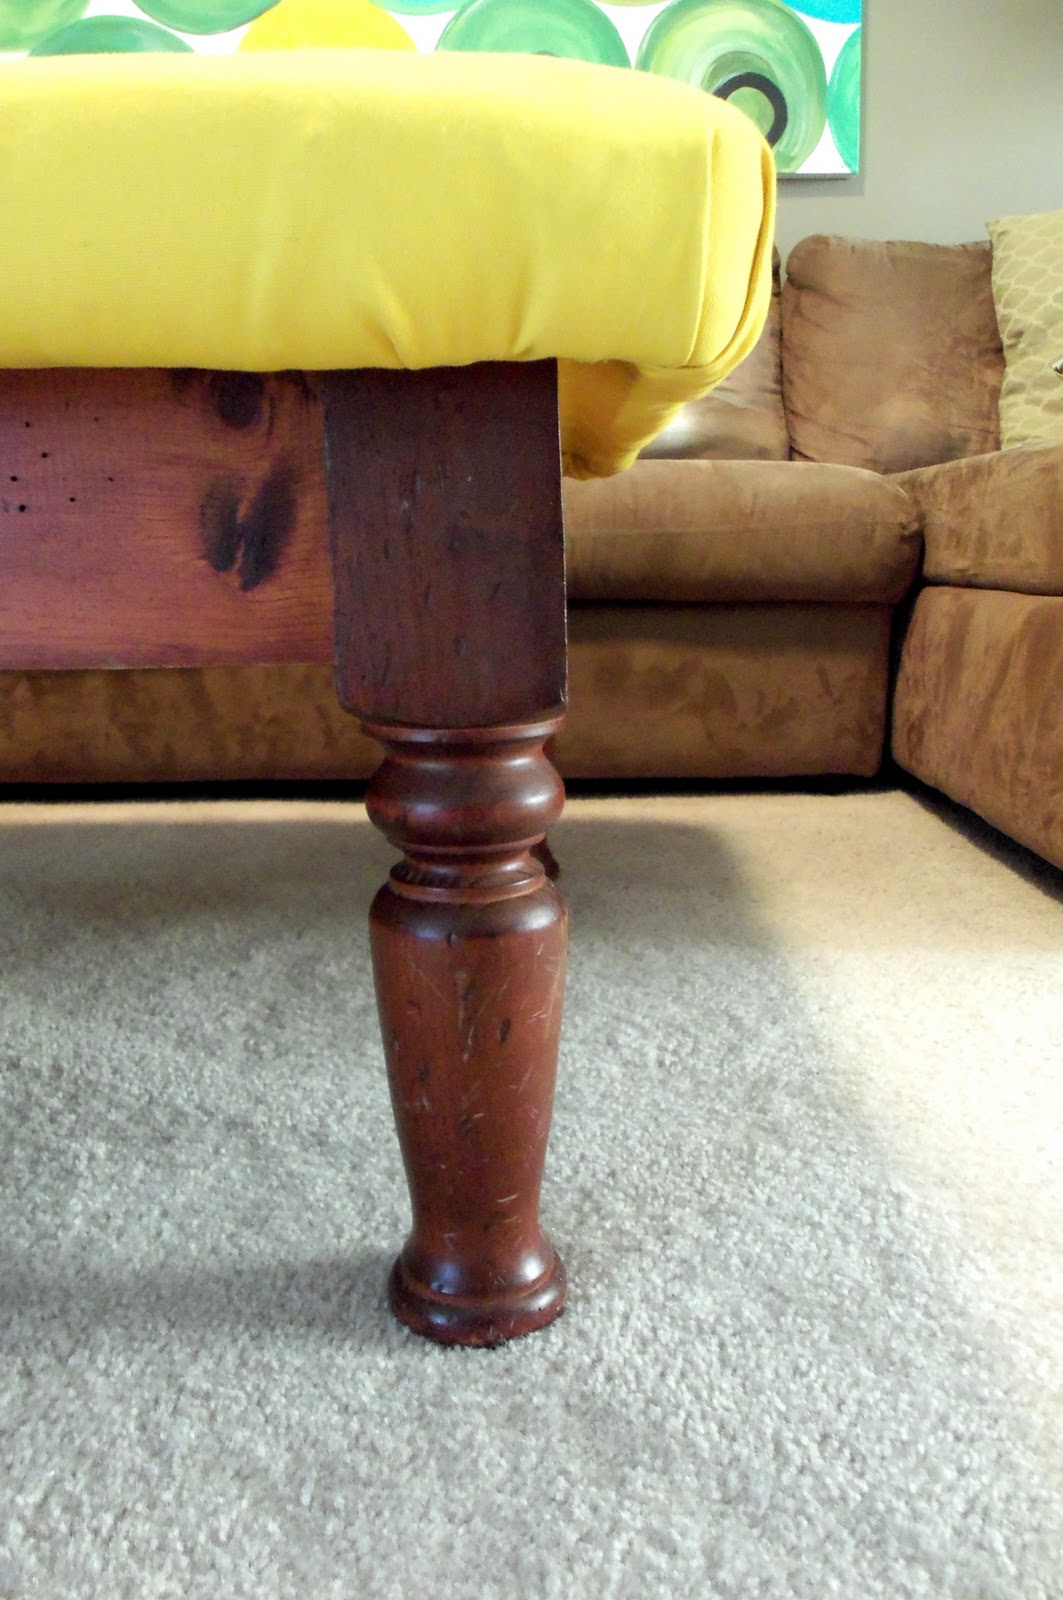 |
| if you look at earlier pics of the table, you'll see that i cut off the very bottom section of all the legs, it was just a bit too tall for our couch with the 2" of padding added to the top |
 |
| TA-DAAAAA!! finito. not perfect by any means, but pretty dang good i think. :) fits perfectly in our living room. again- i scotch guarded the CRAP out of this thing so spot cleaning will be much easier. |
 |
| view of the entire couch area |
 |
| i also had a nice tray to put here that i didn't have a use for before! yay!! this will work nicely for putting your drink down, magazines, etc. |
 |
| overall, this took me about 2 days to finish, but i technically started in the afternoon the first day, and stopped after i realized i had the worst staple gun ever...and finished in a few hours the next day. you could do this in one if you had the whole day to do it! |
 |
| aaaahhhhhhhh accomplishment. |


