Showing posts with label house. Show all posts

Tuesday, November 15, 2011

He who lends a book is an idiot. He who returns the book is more of an idiot. ~Arabic Proverb


So what are you if you make a wreath out of a book? My guess is an even bigger idiot. BUT- I'm an idiot with a sweet handmade wreath. I found this project on another blog through Pinterest, naturally. I absolutely loved the unique look of this wreath, and the fact that it is made from a book's pages. Reading is one of my favorite things to do, but I don't always get around to it.

Anyhoo- I used my copy of Mark Twain's "Recollections of Joan of Arc" which he considered to be his best work. He spent 12 years of research (some actually in France) and 2 years writing. He respected her real-life virtues as those he included in his own fictional characters.

The original project I found just used a bargain romance novel or something, but I don't like the idea of using materials like this that have no history or larger meaning. Now every time I look at this wreath I'll be reminded of someone in history that gave her life for something bigger than herself, and for God, against absolutely all the odds. I like to have little reminders of things like that for when I get all wrapped up in my own stupid shiz. ;) Here we go, very simple!


wreath, book, paint (paint edges of all pages & dry, nothin fancy)

you can fold the pages any which way you like, whatever you think looks good. i did something between a tri and quarter-fold

i lined the bottom (back) of the wreath first. when you are hot-gluing these, you need to glue the edges of the pages together, then glue the paper to the wreath.

the next layer gets folded, but the key is to not actually crease it!! i window-ed them between the bottom layer. for these folded ones, you do not need to glue the paper edges together, they will just stay because of the fold, it's science.

2nd row done!

for the 3rd row i went right to the top of the wreath, back to the straight pages, no folds.

this is 3 rows

this is 3 rows

did a row on the inside (glued all the way at the back of the inside ring)


this is where i started "filling in" wherever i thought it needed more paper...between rows, between pages, looking from the side, from the top, etc. when filling in, you can kind of glue willy-nilly and just stick them between the pages, they'll stick to the other papers!

done!

hung it above the bed because A: i've had nothing up there forever B: it's simple and elegant C: ryan says it won't kill us if there's an earthquake

it looks small up there in this picture, but it doesn't seem that way in real life. i actually am very happy with the placement, especially since i had no idea where this was going when i made it lol

hung with a simple ribbon hot glued to the back, by the way. apologies for the fuzziness of this image.

the drama i see comes from all the shadows the pages create, i just couldn't be happier with it!


Materials: Foam wreath (mine is 12" diameter), book (I used all 329 pages), hot glue (have a bag of extra glue sticks on hand), brown or grey paint & paintbrush

Monday, October 10, 2011

POUF! sewing magic.


this project is dedicated to my lovely mother, who was thoughtful enough to pick up a Better Homes & Gardens magazine for me when she saw it for 50 cents! this particular magazine contained an image of a "pretty pouf" floor cushion that i thought was fantastic, and wouldn't you know they had a place you could go to on their website that gave a tutorial for it! score.

our living room is very spacious, and while we do have the seating provided by the sectional couch, a chaise, and a chair, we started thinking about if we had enough for hosting Christmas this year. i thought these poufs were a great idea for some casual, non-committal, smidgens of a seat that could be easily moved and/or stored. PLUS i had a ton of one kind of fabric that i got a sweet deal on and was wondering what to do with it. here's how it happened:


the tutorial came with a printable pattern, which, for your 411, is the very first pattern i've ever used. i liked it!
i layered the fabric as i cut so i wouldn't have to make as many cuts. efficiency is key.


i also used some white muslin to line the pouf with, for extra stability and luxury ;)

after all cuts are made, stack them right sides together WITH lining, then sew one side to make a pair of pouf panels

PAIR!

after all pouf pairs are sewn, press seams to lay flat, like so.

JOIN PAIRS! joining one pair makes half of the pouf.

measure from the top 5" down and do not sew the top 5" together, you gotta have a hole at the top to stuff the pouf!

the tutorial didn't say anything about using a walking foot for this, but with all the layers of fabric (4 at a time), i expertly deduced that a walking foot would be more appropriate to avoid bunching, so shake it if you got it


all sewn!

this is the best part, you can stuff the pouf with ANYTHING you want. the tutorial recommends stuff like old jeans, towels, and pillows to increase stability. i used all these things and more!

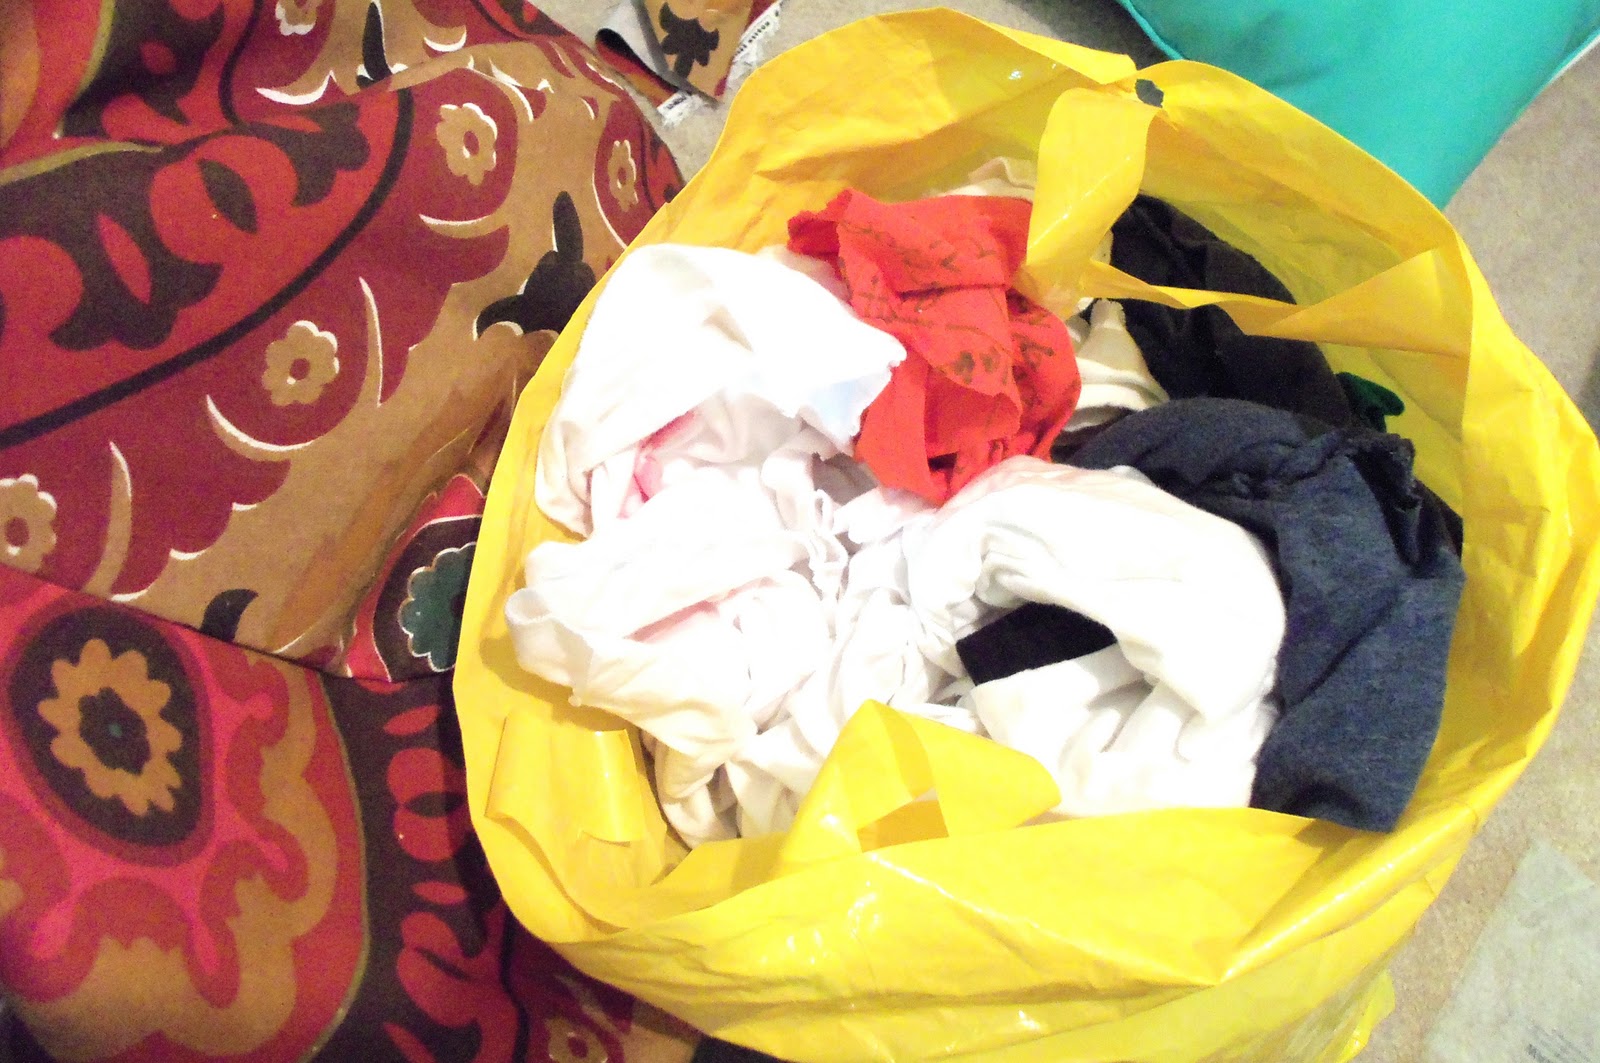
for my very first sewing project, a t-shirt blanket, still sadly unfinished and just really not right, i kept the scraps from the t-shirts and sweatshirts i cut up. at this time i really didn't understand why i was so compelled to hang onto a bag of shirt scraps, but alas, today is the day they became the perfect addition!

stick all the crazy stuff in first, then use fiberfill to smooth out the outer shape and the top for perfect poufiness.

time to suck it up and HAND-STITCH the top closed, ugh. i really hate hand stitching, i have no joy in hand sewing like some other people do, gimme a motor baby

top is all closed, time to fashion the top pouf piece

you may notice that neatness in stitching the top is totally unnecessary, because it'll be covered! yay.

another piece of the pattern


iron down seams

i also expertly deduced ;) that using fabric glue along with more hand-stitching would be better. i used small dots along the entire edge and throughout the entire middle, stacked some stuff on top of it to dry, and moved onto the worst part of pouf construction...

*side note: bring the double threaded needle up through the bottom before it dries down. just realized that i don't have any pictures of the top after hand-stitching! figures, my fingers still hurt from it, i just wanted to be done! i just used a simple straight stitch around the edge, no big deal!

while, i apologize for my husband's feet, i didn't want to use my own so beggars can't be choosers ;) TA-DAHH! ottoman, extra seat, super-cute casual decor addition, and made from junk i already had! i think i'll make another.

POUF! that word has lost all meaning!

Thursday, August 18, 2011

This mess is a place! {author unknown}

ha! i like that quote because it makes my obscenely messy house funny and not sad. ;) anyway, this isn't a post about the cool stuff i've accomplished for my house, it's about the things i've sort of accomplished and what my plans in the works are. lots of projects, and you would think unemployment would also be 'lots of time' but it's surprisingly less than i expected. so for now the house is full of awkward spaces and piles of materials. anyways,
super awkward space in the living room. both sides of the TV need something, because the TV becomes the focal point of the room when you're on the couch. i have another stand to go along with this set of stuff, love the sconces, and need to paint my sculpture.

SWEET old table i got at a thrift shop. you can't see it but the rim around the top edge is that great old hospital-green color, i'm hoping to sand it back down to that. the legs and drawer also need sanding and re-painting. that tray is done too, i'll have a separate post about that.

BLANK!! booooring! i had 3 paintings here before but i sold them, so it's been blank since then. i have B-I-G plans for this space. see yellow wall stuff below!

sorry this one is sideways, but it's just another boring spot, upstairs hallway. i have a few plans but the upstairs is a later priority at this point.

hallway stuff!! hanging this weekend. this will be a big check off my list.

old chair with great bones i'm going to sand down and refinish. got a fantastic rich dark brown stain for this guy.


so that's what i'm workin on now, along with a few other projects for customers. stay tuned for the finished scenes!! and i always take suggestions so if you have an idea for me shoot it to me in the comments. tank ya!