ok, sailboat purses and headbands complete! 2 purses and 2 headbands. neither had a pattern, not that i know how to read patterns, but anyway i just built them one piece at a time however i thought best. here's my process:
 |
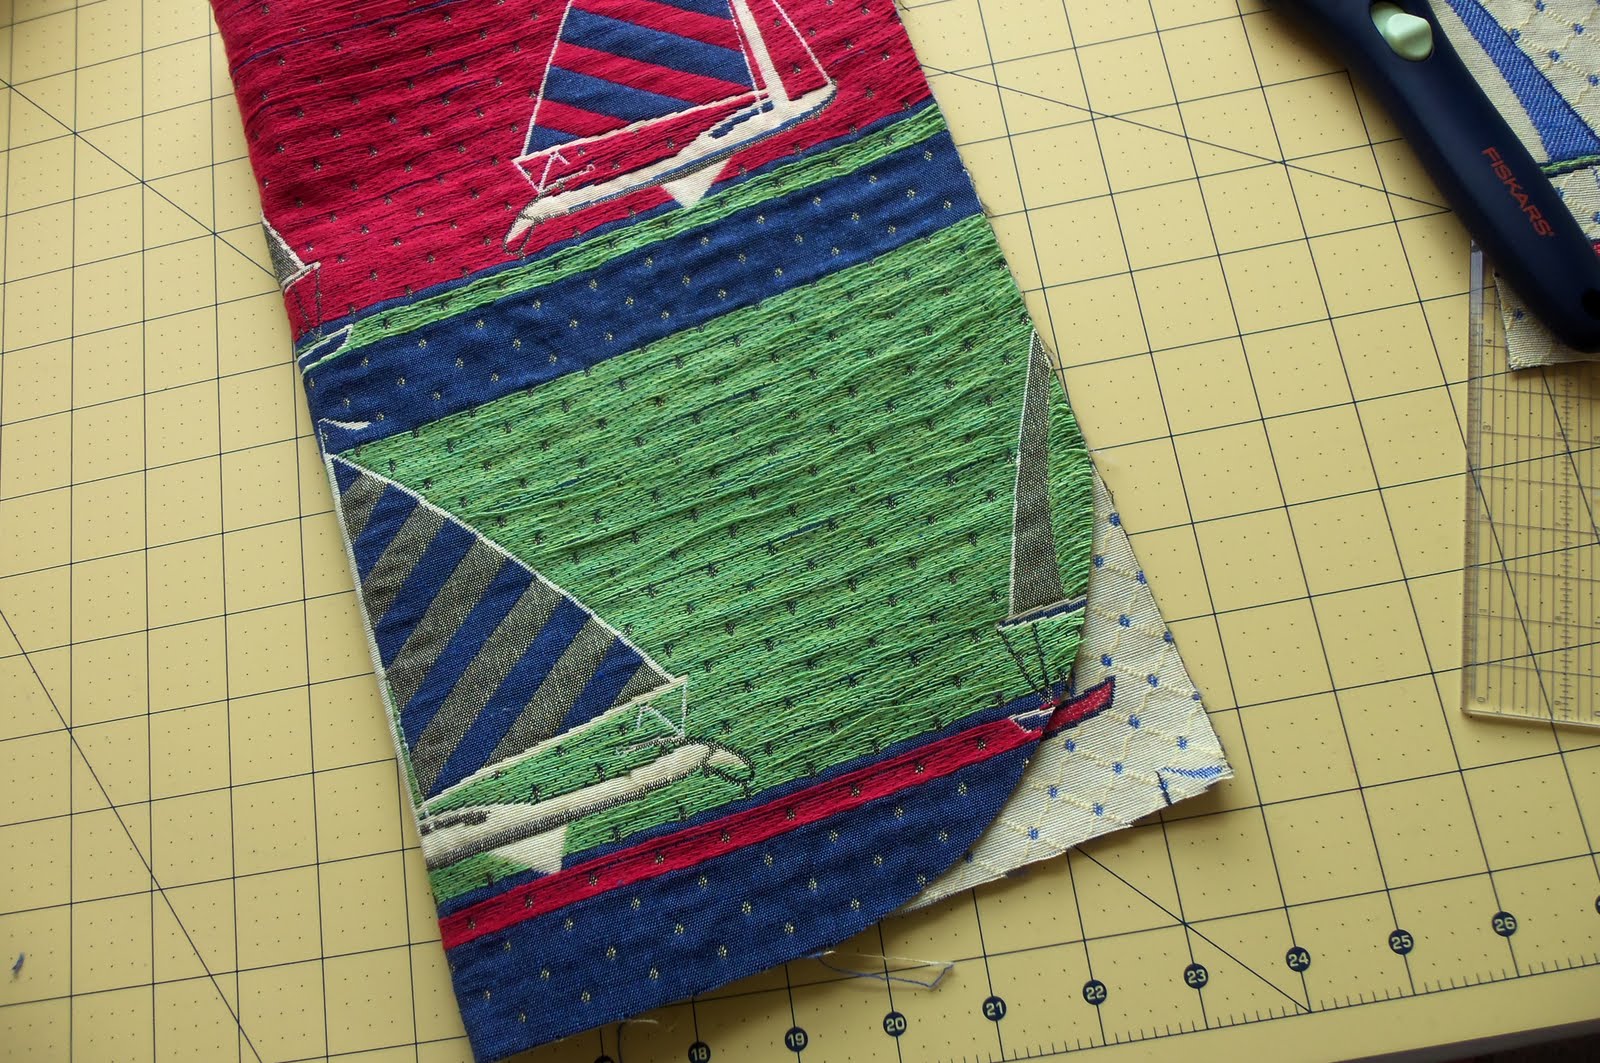
| start with customer's chosen fabric! draw some sketches of shape and size specs |
 |
| this fabric is SUPER thick. which is great, until you are sewing two pieces together that are already hemmed. 4 LAYERS! |
 |
| cut two sides of one purse in the size you need. this customer wanted a half-moon shape for her purses. |
 |
| i used a bowl to cut off the corners for the half-moon |
 |
| fold over and cut other corner |
 |
| you can use this as a template for the other side if you want |
 |
| pin right sides together leaving a 1/2" hem |
 |
| this is a new tool to me, not sure if it's easier than the tape but it's pretty cool :) |
 |
| two sides ready for sewing the shell of the purse | | | | | | | | | | | |
|
|
|
|
 |
| gotta go slow around the curves so you keep your 1/2" seam as much as possible |
 |
| if you aren't going to trim the excess fabric, you gotta snip those corners so the fabric doesn't buckle and pucker. i snip about ever 1/2" or so |
 |
| i trimmed this fabric because it's SO. THICK. |
 |
| next up is the lining!! we have this looooovely navy blue to coordinate with our boats, i use the purse shell as a template for the lining size |
 |
| i do the same thing with the lining fabric that i did with the shell, and looking back i think i would have tried more to do a 1/4" or smaller seam, the reason for that is next. |
 |
| the lining just drops right into your shell, and a good option is go iron your lining seams flat like in the next step for the same reason i wanted smaller seams |
 |
| it's hard to see because my pin heads are yellow, but i'm pinning right by the seams of the shell, because i'm doing what i believe is called "stitching in the ditch" which is sewing another layer of fabric to your first layer along where you already have a seam. so if that was confusing, i lined up the seams of both layers and sewed them together there. |
 |
| here's the purse flipped inside-out after the lining is installed. |
 |
handle time!! this is where i went severely astray from my goals for a bit. i've never used these handles, and i didn't realize that i've really only seen them in woven purses, not fabric ones. at least not fabric that is suitable for upholstery. :) i spent a good 6 hours just trying things and staring at them and getting real pissed a few times, hoping the answer would just COME TO ME. it did eventually, and i've already written about it, just in case someone somewhere was trying this same thing and was on the edge like i was lol.

here i am innocently thinking that this is going to give me the half-moon shaped purse my customer wanted. looks reasonable, right? nnnnnnnope!
|
| | |
|
 |
| before i did the handles, i hemmed around the whole top of the purse. i did a very small one because it will all eventually be folded and hemmed again. |
 |
| just to make double-sure this fabric doesn't unravel |
 |
whole top is hemmed and slit is cut down the middle for the fabric to be able to fold around the round handles. i also stitched the edges of the slits to keep them from unraveling. FOLD OVER the 1st hem on the sides and hem again before you work on the handles!

here's one of the many routes i considered for attaching these handles, making a little pocket for it and then attaching the pocket to the purse. it just wasn't right, and it looked messy and that's not what i wanted. back to square 1!! |
|


i finally concluded that a half-moon shape just wasn't going to be possible for this purse. the fabric has got to wrap around it and have a nice opening for the purse itself, and you just can't get that without bringing in the corners of the purse. luckily, my customer was very flexible and loved the new shape of the purse!!

here is the first completed purse! next up are the headbands made with the same fabric and the second purse to complete the pair. woo hoooo!!!!! they turned out super cute and are on their way across the country to their new owner!


 i finally concluded that a half-moon shape just wasn't going to be possible for this purse. the fabric has got to wrap around it and have a nice opening for the purse itself, and you just can't get that without bringing in the corners of the purse. luckily, my customer was very flexible and loved the new shape of the purse!!
 here is the first completed purse! next up are the headbands made with the same fabric and the second purse to complete the pair. woo hoooo!!!!! they turned out super cute and are on their way across the country to their new owner!

No comments:
Post a Comment