 |
| Here's the gorgeous glider I started with. It's ok if you're jealous, I mean it's curved for lumbar support for the love... |
 |
| Sorry, I just couldn't get this picture to stand up. I got a quart of Curry colored outdoor paint from Walmart. I cleaned the wood with a damp rag to get spiderwebs and what not off of it, if it had already been painted, I would've sanded it first, but in this case I didn't have to. |
 |
| This is one coat, I did two total. I used a brush, it's a lot of work getting in between all those slats and in all the nooks and crannies of the undercarriage, etc. so be sure to set aside enough time. I put it on the tarp because I didn't want to deal with grass at the bottoms of the legs, and it worked just fine. And I sat on a sheet so I wouldn't get chiggers! |
 |
| Here's the |
 |
| This is the real fun part, the FABRIIIIIC! This is a lovely Chevron pattern in dark teal and white, it's outdoor fabric that dries quickly and won't fade until it gets something like 5000 hours of direct sunlight or something, and it goes beautifully with my new shutters. |
 |
| Based on my math and measurements, I cut my pieces, top, bottom, sides, and ties. |
 |
| First step was to pin all the sides of the cushion together. |
 |
| Double-checking after they're sewn. Time for the top. Unfortunately I don't have any pics of this step, but it's just attaching 1 panel of fabric for the top, and two for the bottom, you'll see how they're put together in a bit. |
 |
| Before attaching the bottom, I made these ties so I could tie the cushion to the glider once it was on so it would stay. Just cut strips of fabric, 2" wide would be sufficient, fold just like this and sew. |
 |
| Here are all 4 ties. They don't have to be beautiful, they're in the back and they tie together, so they're not on display. |
 |
| Position 2 ties between the bottom panel and side panel in each corner. This will be the back of your cushion. Sew over them as you sew the panel itself on, and they'll be attached! |
 |
| Here they are sewn in, and I've cut off the extra ends that would be on the inside of the cushion. |
 |
| This is what they look like on the outside. |
 |
| Top, sides, and ties are done. All I need now is the bottom pieces! This is a pocket cover, no zippers or buttons, just an overlapping piece in the back. |
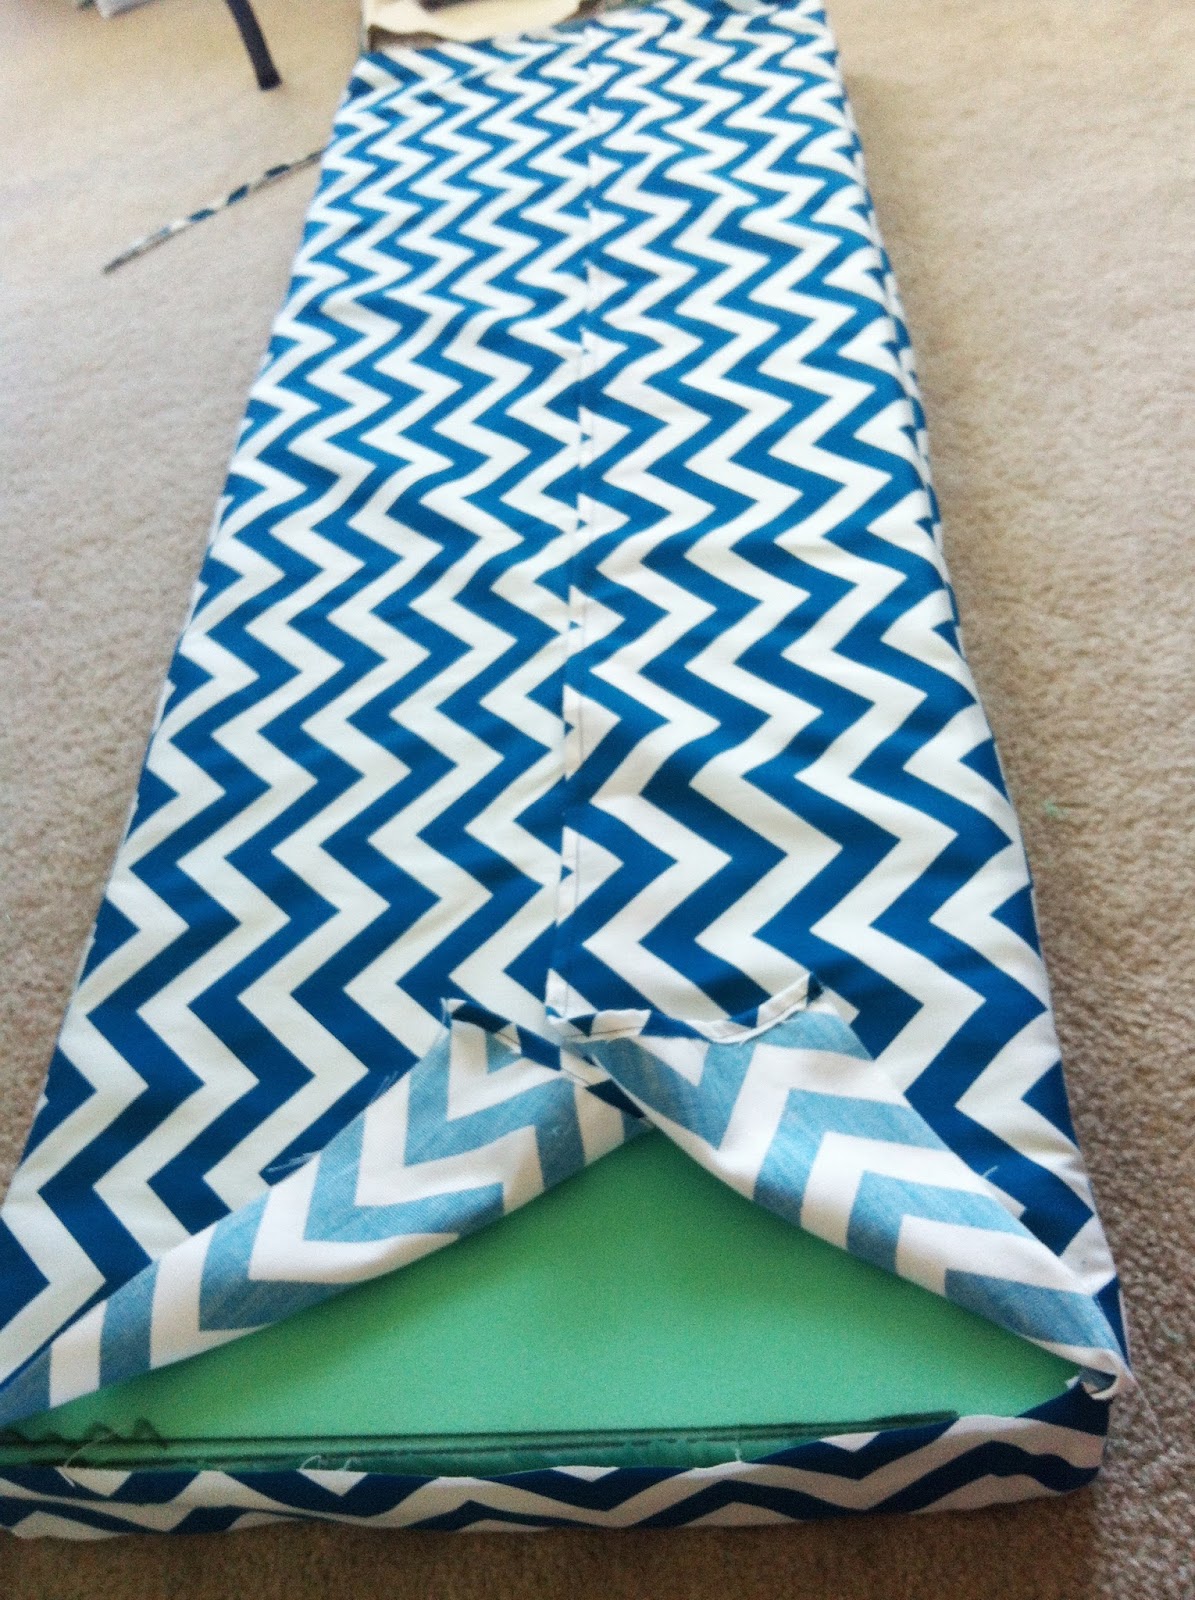 |
| Here's what the back will look like. Sew along all edges, and leave the two pieces to overlap like an envelope. After it's done, squeeeeeeeeeeeeze the foam into it, it'll be difficult, but it'll go! |
 |
| And VOILA! Cushion. I tied it on and made some matching pillows, which also tie to the glider. |
 |
| Here's the 'big picture' with the shutters framing it. So fun! I'm so happy with it. There's the transformation that took place on my house this summer! Now I can LOVE it and smile when I drive up the driveway instead of shaking my head in exhausted derision. :D Hard work pays off. Especially before it gets too hot outside for the summer! |
No comments:
Post a Comment